|
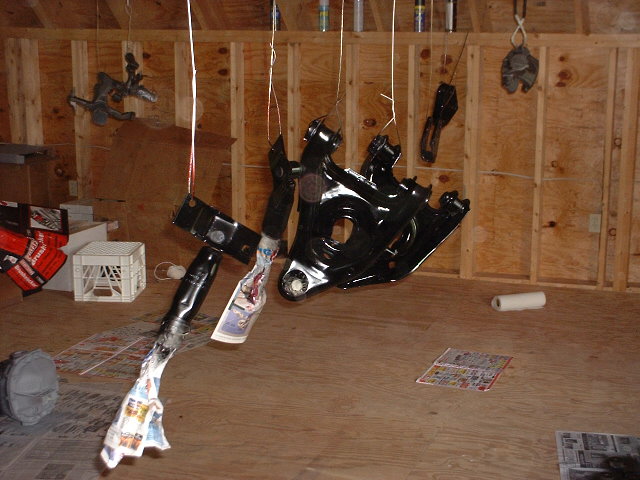
Parts PaintingWe're preparing most of the metal parts by cleaning and painting them with Eastwood paints, which come in several colors that look almost like unpainted iron, steel, and aluminum. It takes more time, but the parts will stay looking good a lot longer. Some heavily corroded parts will also receive a coat or two of Gempler's Rust Converter, which stabilizes rust and leaves a black surface which can be painted over. Our donor Mustang was from Arizona, and there is virtually no rust on the parts as they came from the car. However, the parts still need to be cleaned up, and some corrosion needed to be removed from the front spindles.
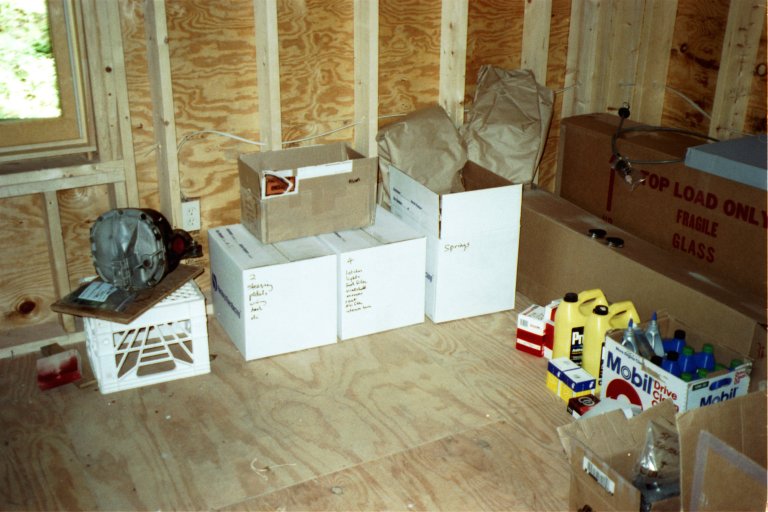
In the photo is the differential as it came from the Thunderbird. It's dirty and rusty, although basically sound (we hope!) These parts required a lot more preparation, and made us glad we were lucky enought to get that Mustang from Arizona! |
|
Note the differential on the left. It has been cleaned up and has gotten its first coat of paint, Gempler's Rust Converter (only on the iron part). The Rust Converter goes on gray but turns black after you paint it on. |
|
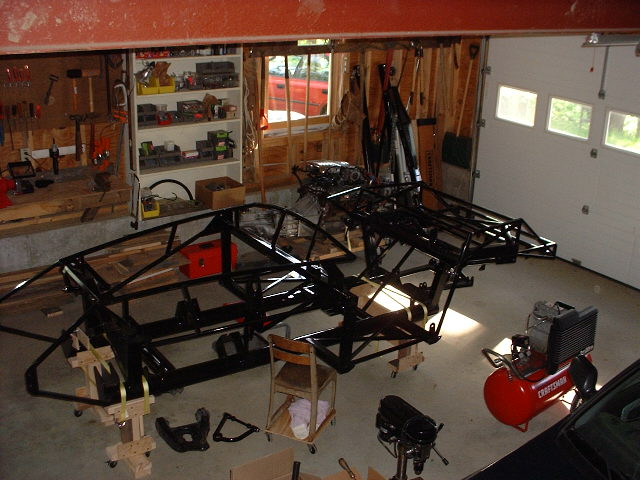
Here it's being installed in the chassis. Note the rope and the jack underneath. It was a project to weave this big "pumpkin" in between the frame tubes into its new home! |
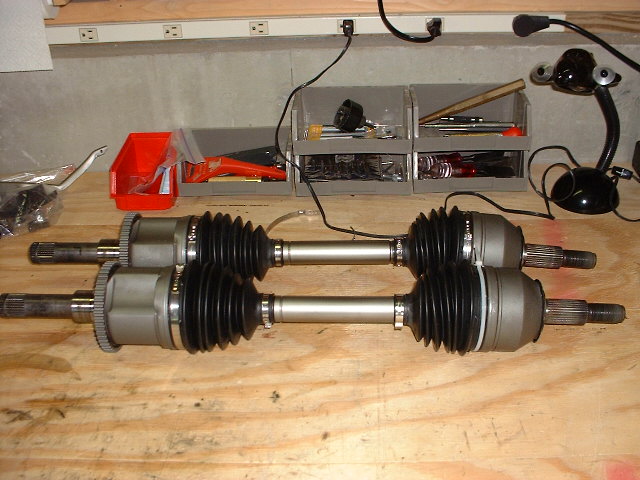
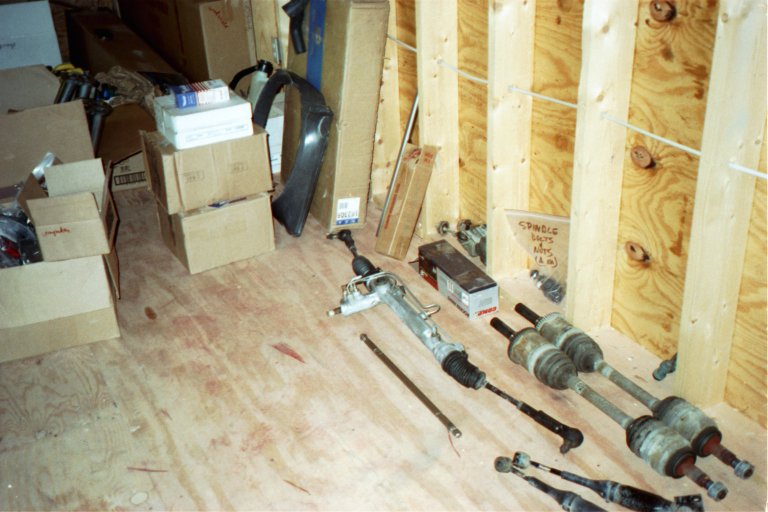 Here are more parts. At right
are some rear suspension parts, including the Thunderbird half-shafts
with their rusty CV joints, and the Mustang quad shocks (which
are in pretty good shape, but Nate will paint them anyway). Here are more parts. At right
are some rear suspension parts, including the Thunderbird half-shafts
with their rusty CV joints, and the Mustang quad shocks (which
are in pretty good shape, but Nate will paint them anyway). |
|
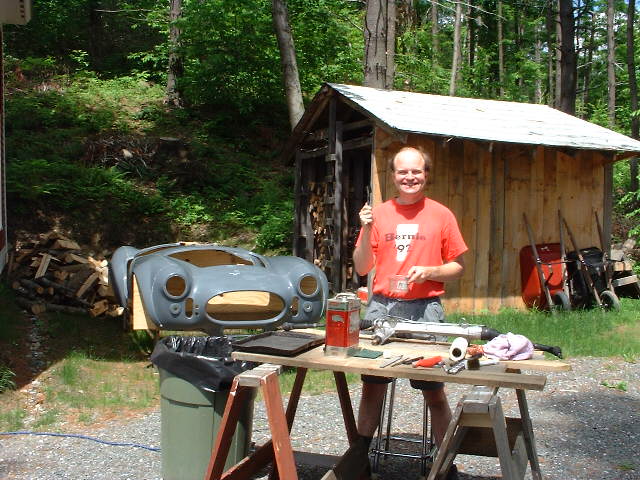
Behind him is the woodshed, which holds the firewood used to heat the house in the winter, and the Cobra body, sitting quietly on its body buck and grinning at Nate as he cleans the parts which will soon go inside it. |
|
Nate also spent several hours cleaning the CV joints, painting them with Rust Converter and then with Eastwood's Spray Grey so they would look like new parts. He also painted the shafts with Detail Grey so they would stay looking good. You'll see more of this process on the IRS page. The front spindles (on the Front Suspension page) got the same Rust Converter treatment as the differential and the CV joints. |
|
There will probably be more parts preparation; watch this page for more (if anything new and interesting arises). |